The Engineer Tutor
Learn from our Experience


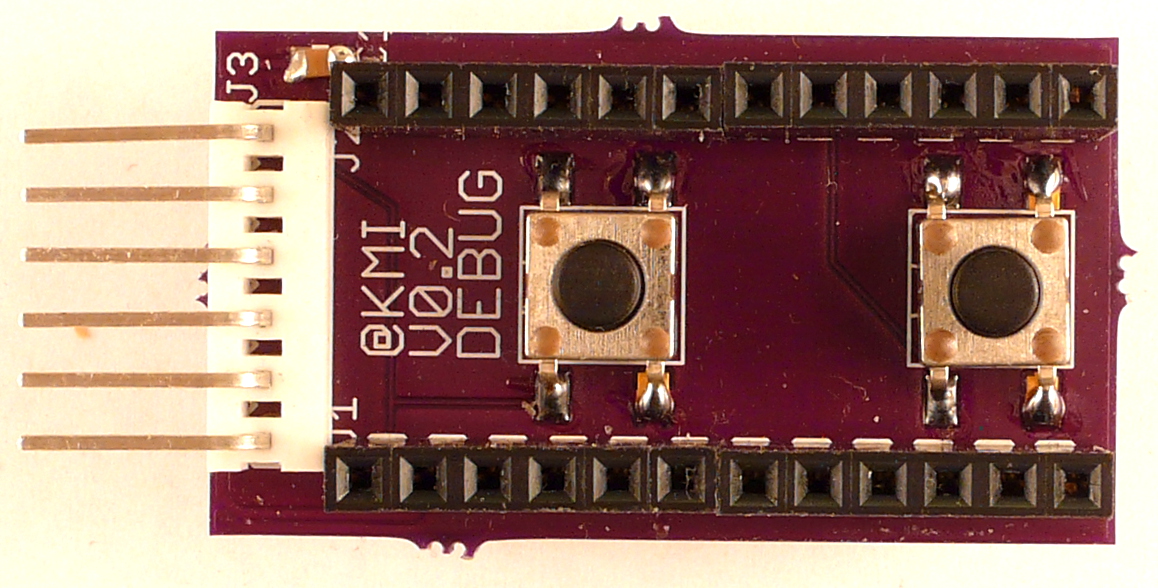
I have been working with the Blue Bird board and have discovered that attaching the PICKit3 debugger is a little tough. I decided to design a board that makes attaching the PICKit3 much easier. The Blue Bird debug board came to life. I layed out the 6 pin connector to hook the PICKit3 to and the rest of the board just layed itself out.
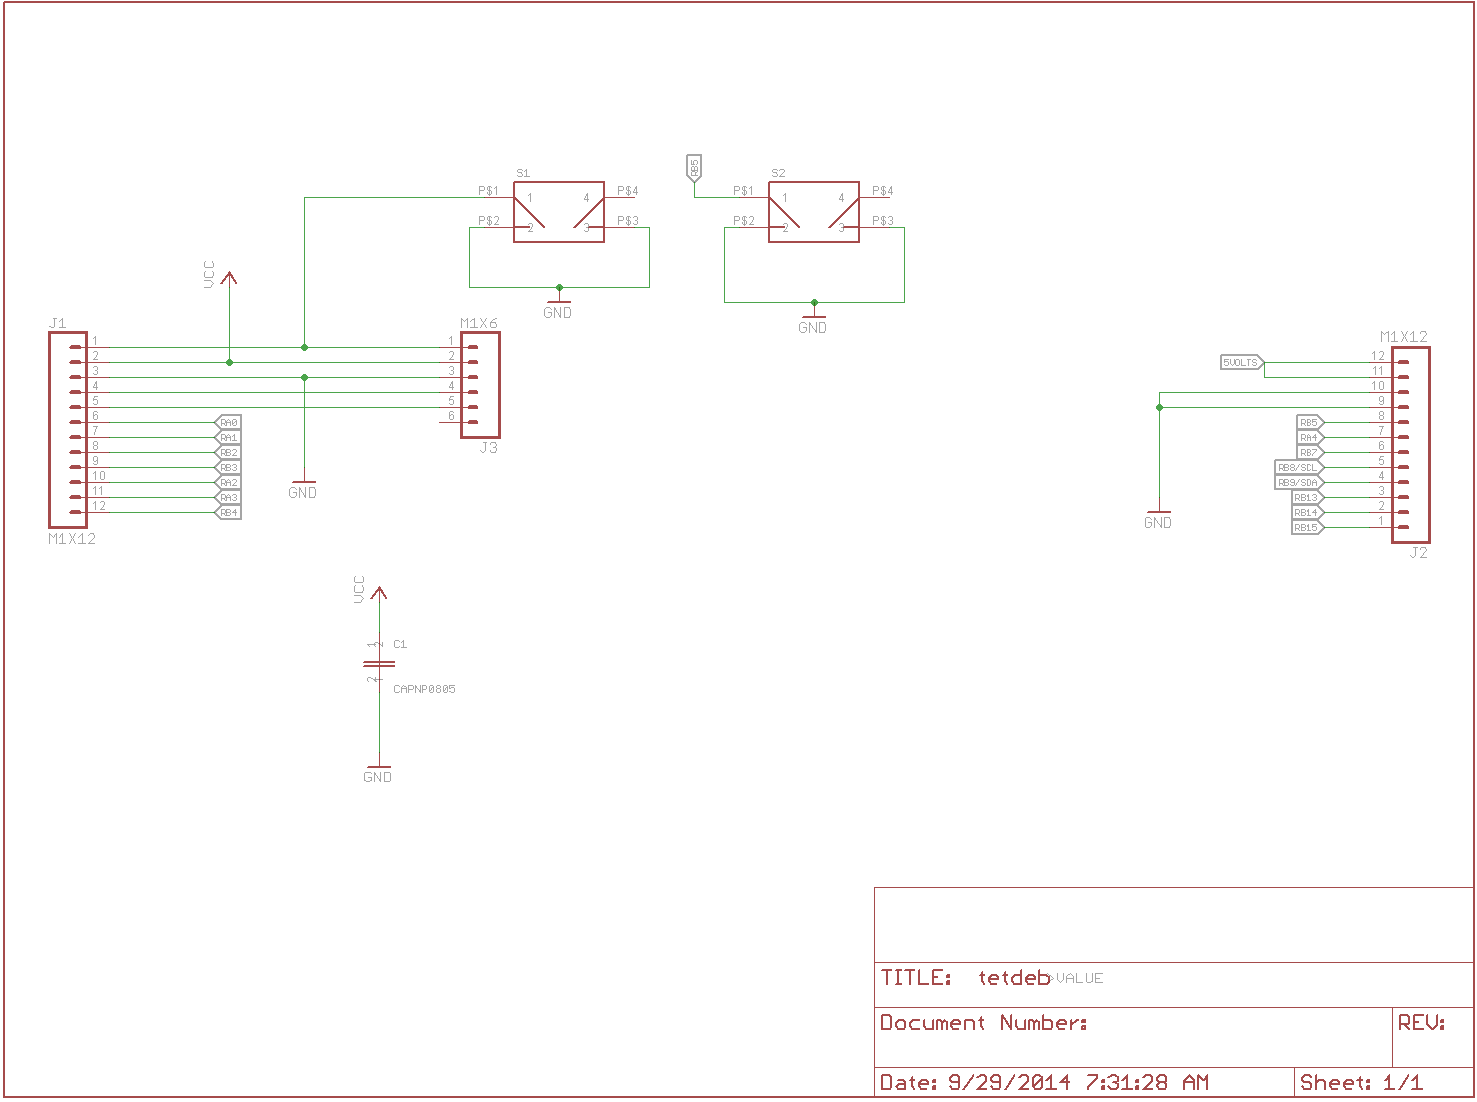
From the schematic you can see that it is a very simple board. There are just a couple of switches on it and the 6 pin connector for the PICKit3 and not a lot else. With the simpleness of the board it made it easy to layout. The auto router made quick work of the board.
Blue Bird Board PICKit3 debugger
I’m already on version 2 of this board. The first time I designed the board I didn’t include the switches. The board worked great but, I didn’t have a good way of putting the Blue Bird board into debug mode. I added the two switches to enable debug mode and to reset the board. They work great.
It is able to stack on top of the other boards to allow the PICKit3 to be attached to the stack. This gives you full debug capabilities that the PICKit3 provides to your stack. This board makes a very powerful debug system.